The splicing instant measurement system has the characteristics of large field of view, fast image measurement and high precision;
It is suitable for batch measurement of large-size workpieces with multiple sizes, such as PCB circuit boards, FPC flexible boards, etc.;
Just place the workpiece in the effective measurement area, and 3,000 dimensions can be measured within 30 seconds.
The website only displays some products, more products can be inquired about. Accurately recommend products based on your needs and support customization!
| Model | HD-432PJ |
| XY Axis Measurement Range (mm) | 400*300*200 |
| Single Field of View Size (mm) | 82*55 |
| External Dimensions (mm) | 1353*886*1707 |
| Instrument Installation Size (mm) | 2200*1900*2000 |
| Weight (kg) | 450 |
| Load Weight (kg) | 20 |
| Image Sensor | 20-Megapixel Industrial Camera |
| Lens | Double Telecentric Optical Lens |
| Magnification | 0.16X |
| Measurement Accuracy (μm) | ±(5+L/200)*Standard Block as Reference Product |
| Display Unit (mm) | 0.0001 |
| Depth of Field (mm) | 8 |
| Light Source | Contour Light: Telecentric Parallel Light Source, Surface Light: LED Ring Light, Optional: Coaxial Light, Lift Light, Angle Light |
| Image Processing | Advanced Image Analysis Methods, 256 Gray Levels, 20:1 Sub-Pixel Processing Technology |
| Software | FMES v2.0 |
| Operating Environment | Temperature: 22℃±3℃, Humidity: 50-70% |
| Vibration | <0.002mm/s, <15Hz |
| Power Supply | 220V/50Hz |
Application industry
One-click instant measuring machine is widely used in machinery, electronics, mold, injection molding, hardware, rubber, low-voltage electrical appliances, magnetic materials, precision stamping, connectors, connectors, terminals, mobile phones, home appliances, printed circuit boards, medical devices, watches, tools and other small size of the product and parts of the batch rapid measurement.
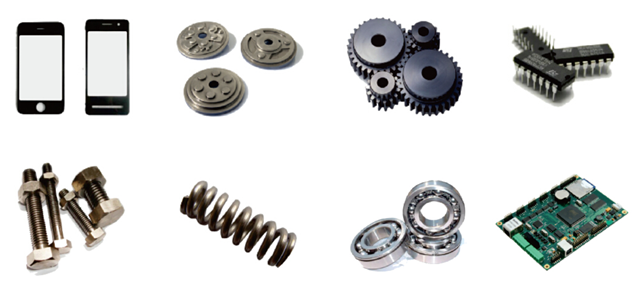
Instrument characteristics
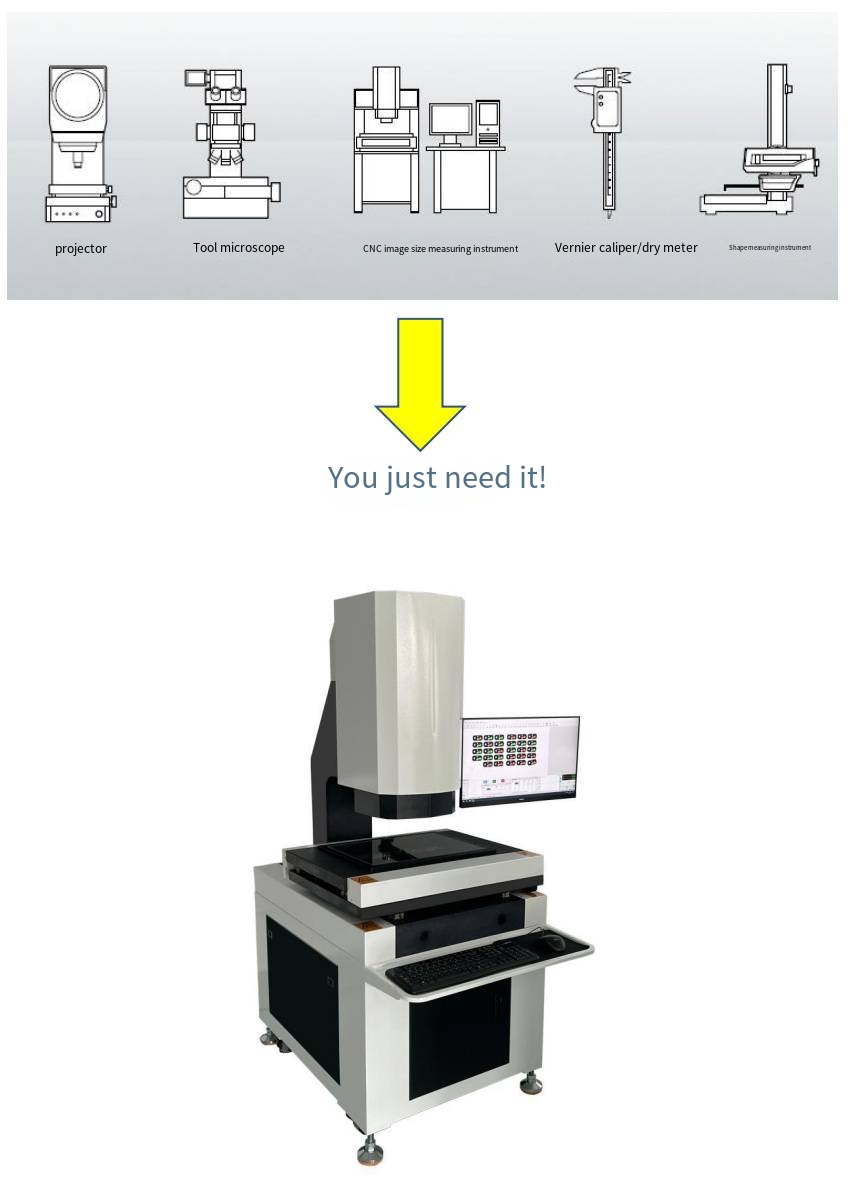
1. Break the conventions of size measurement.
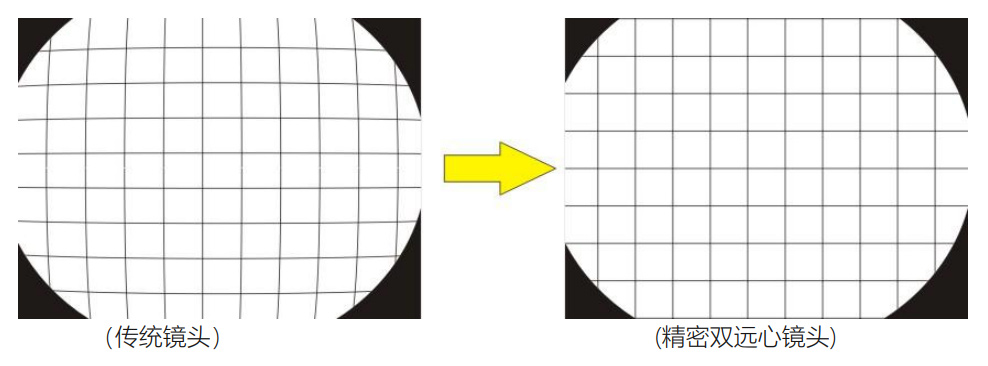
2. Large aperture and high depth of field to achieve clear imaging in the full field of vision and ultra-low distortion.
(Traditional lens) (Precision Double telecentric lens)
3. High-resolution digital cameras. The instrument uses a 20 megapixel high-resolution digital camera.
4. The software adopts advanced 20:1 sub-pixel image edge processing.
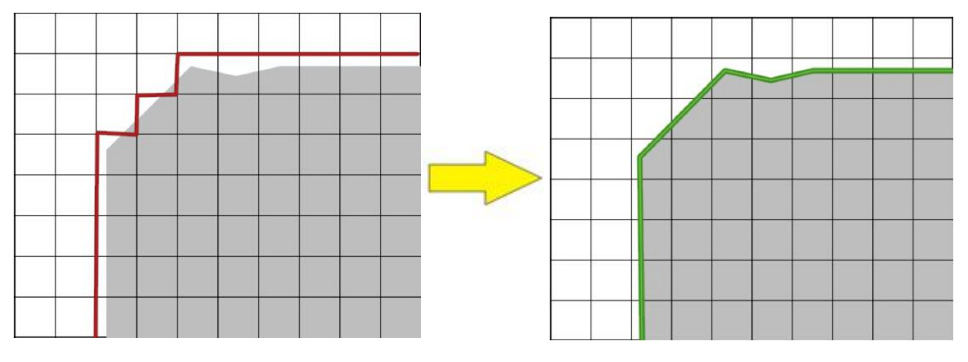
5. The least square regression process can automatically remove burrs and anomalies, and minimize the impact on the feature position.
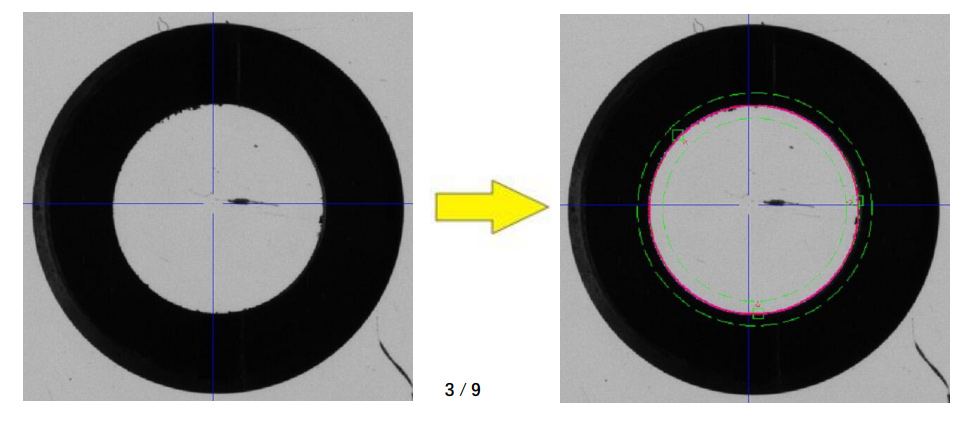
6. Automatic identification of the workpiece without positioning.
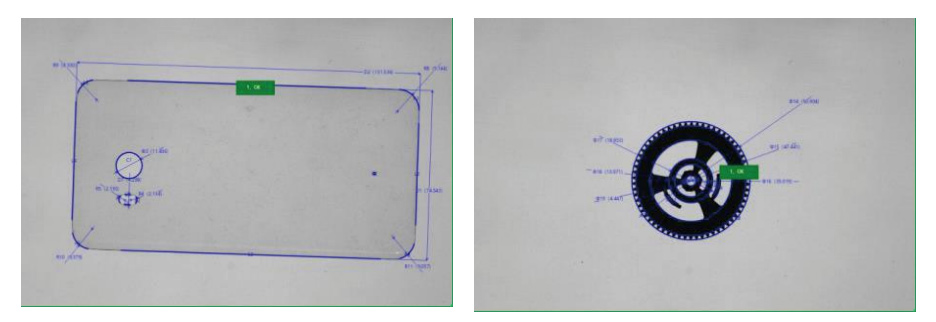
7. Efficient batch measurement.
The measurement range can measure more than 20,000 dimensions at one time, and the measurement time of 100 dimensions is less than 1 second, which greatly reduces the measurement time and improves the measurement efficiency.
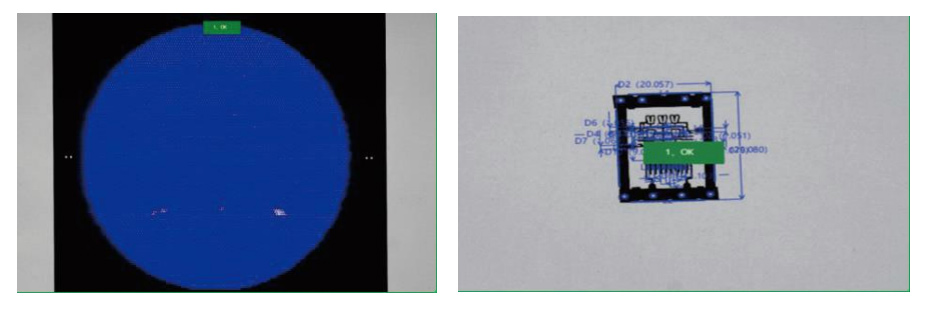
8. Arbitrary placement of multiple workpieces, automatic identification, batch measurement.
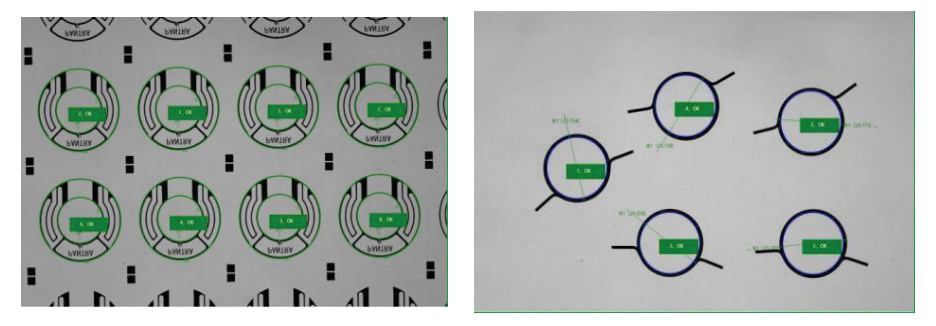
Software introduction
Completely independently developed, the software interface is simple, powerful, easy to learn; The distortion correction technology independently developed by our company ensures stable and accurate measurement results at each position and Angle of the visual field; The self-developed image stitching technology ensures that the stitching error is less than 0.003mm.
(Special software features can be customized)
User program
(1) Automatic matching workpiece, arbitrary placement, one-key measurement. Automatically search for matches and bring up user programs. Frame selection to establish a match, multiple position frame selection combination to establish a match, with measurement elements to establish a match, can import CAD to establish a match. The program group can be set up to realize the measurement of multiple side over side of the workpiece.
(II) Comprehensive measurement elements:
Point, highest point, line, highest line, circle (center coordinates, radius, diameter, roundness, circumference, area, maximum radius, minimum radius), arc, rectangle (center coordinates, length, width, circumference, area), ellipse (center coordinates, major axis, short axis, circumference, area), keyway (center coordinates, Length, width, circumference, area), import CAD contour scanning comparison, contour PV, area comparison, cylinder diameter, sealing ring (calculate radius by circumference, maximum radius of sealing ring, minimum radius, thickness), measurement results re-calculation (maximum, minimum, average, sum), two-dimensional code recognition, barcode recognition.
(3) Mark:
Distance, X distance, Y distance, radius, diameter, Angle.
(4) Shape error assessment:
Straightness and roundness.
(5) Position error assessment:
Parallelism, perpendicularity, symmetry, concentricity, position.
(6) Coordinate system transformation
Cartesian coordinates (X, Y) and polar coordinates (R, θ) can be easily selected. The basic units of measurement value can be converted in real time: mm, inch, mil. Coordinate translation, coordinate rotation, establish the workpiece coordinate system.
(7) Measurement data
You can customize EXCEL templates and specify output cells. The software comes with CPK template, which can calculate Mean, Maximum, Minimum, Cp, Cpkl, Cpku, and Cpk.
(8) Others
1, software language: multi-language optional, language package open, can define translation modification.
2, image and drawing area sharing, what you see is what you get, can be customized: color, line width, font size, background color.
3, focus assist, lighting assist function, reduce human error.
4, pass/fail (OK/NG), and alarm prompt, voice output: OK, NG.
5, can quickly scan the outline, and export to CAD.
6, Optional IO card, external trigger measurement and OKNG signal output.
(IX)SPC:
Includes: histogram, Cpk trend chart, X control chart, Xbar-R control chart, Xmedian-R control chart, X-RS control chart.
Advantages of a one-button measuring instrument
1, easy to operate, high efficiency
Improve operation efficiency, reduce labor costs, avoid human error
Reduce sample fixing, placement, alignment, focusing, dimming, motion control, and automatic batch measurement within the field of view to improve measurement efficiency.
2, the operation training is simple, the use of low threshold, high test efficiency, can save labor costs
| Cost | Other Measuring Instruments | One-Click Measuring Instrument |
| Save on Training Costs | It takes a considerable amount of time to learn to operate the measuring instrument; there is a concern about the loss of skilled testing personnel, causing a "disconnection" phenomenon; | With just one click (within 3-15 seconds), all dimensions of the workpiece can be measured; anyone can measure, simple operation; |
| Reduce Operating Costs | Limited to professional and skilled testing personnel, with high salary requirements (6000 RMB/month); | Anyone can operate, even unskilled workers can meet the requirements (2500 RMB/month); |
| Testing Efficiency Costs | Measurement requires moving the worktable to pick up feature dimensions, and the time required increases with the number of key feature dimensions. A production workshop needs to be equipped with 5-10 machines, with at least 1-2 skilled operators per machine; accumulated annual operating hours of 2000 hours | No need to move the worktable, fix the sample, repeatedly focus, instantly measure all dimensions within the field of view, one flash measuring instrument, one unskilled worker can do it; |
3.Small measurement error. It avoids human error factors such as operating methods, sample placement, and measurement sequence, effectively eliminating measurement errors caused by human factors.
| Human Error Elements | Other Measuring Instruments | One-Click Measuring Instrument |
|---|---|---|
| Measurement Method | Test personnel unfamiliar with software and machines, causing measurement method errors | Automatically memorizes and stores measurement methods, point positions, automatically corrects test direction, and executes automatically, effectively eliminating human error |
| Measurement Method | Changes in test personnel's mindset can lead to measurement accuracy and stability deviations | Automatic and mechanized measurement eliminates human error |
| Measurement Method | Short working distance and depth of field require repeated autofocus, with a possibility of misjudgment and mechanical error | High depth of field double telecentric lens, allows for a certain height difference in the sample, no need for repeated focusing |
| Measurement Method | Differences in operation habits, focus clarity, point selection methods, and lighting intensity among different testers can cause measurement data deviations | Memorizes and automatically executes the same measurement mode, point selection method, optical illumination intensity, etc. |
| Sample Placement | Different placement positions and directions | No need for any fixtures, products can be placed arbitrarily |
| Sample Placement | Fixture displacement, point position movement leading to coordinate origin bias | Software automatically adjusts the sample position and direction for precise measurement |
| Sample Placement | Disorder in point selection and test element sequence | Automatic and mechanized measurement |
Han Ding offers a one-stop service from needs analysis, product solutions, usage guidance, to after-sales tracking

Address:No. 98, Zhen'an East Road, Chang'an Town, Dongguan City, Guangdong Province, China
Mobile:+86-130 3887 8595 / Aico Ding
Email:handing3d@163.com