NEWS
News information
Subcategory:
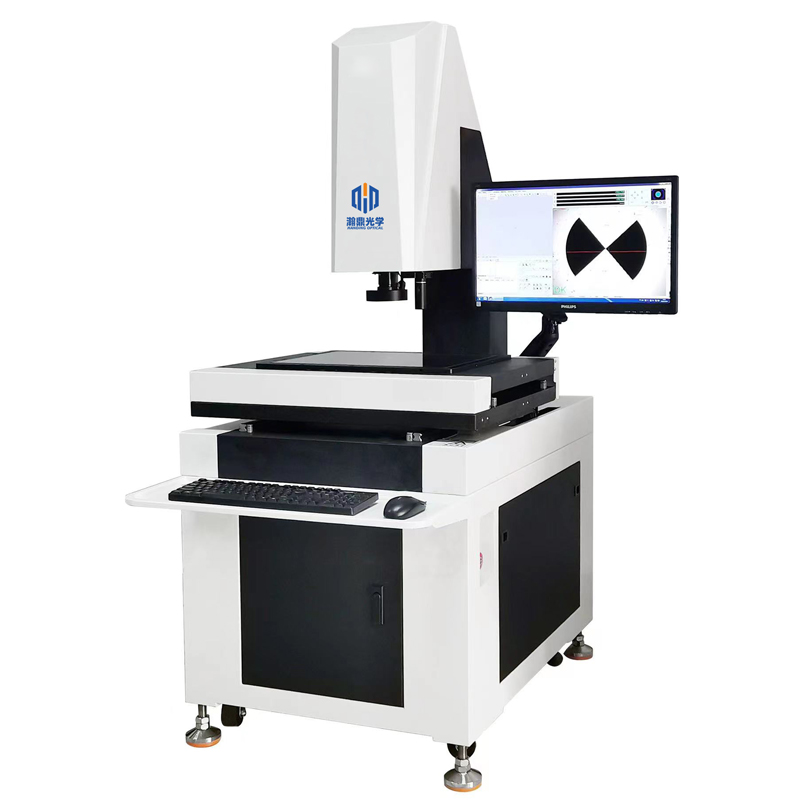
Image measuring instrument is based on CCD digital image, relying on the computer screen measurement technology and the powerful software ability of space geometry operation. It can quickly read the displacement value of the optical ruler, and get the desired result instantaneously through the software module operation based on space geometry. And produce a graphic on the screen for the operator to compare the image, so that it can intuitively distinguish the possible deviation of the measurement results.

Although the image instrument and the flash instrument are composed of the mechanical body, the scale system, the image detection system, the drive control system and the measurement software, there are still differences.
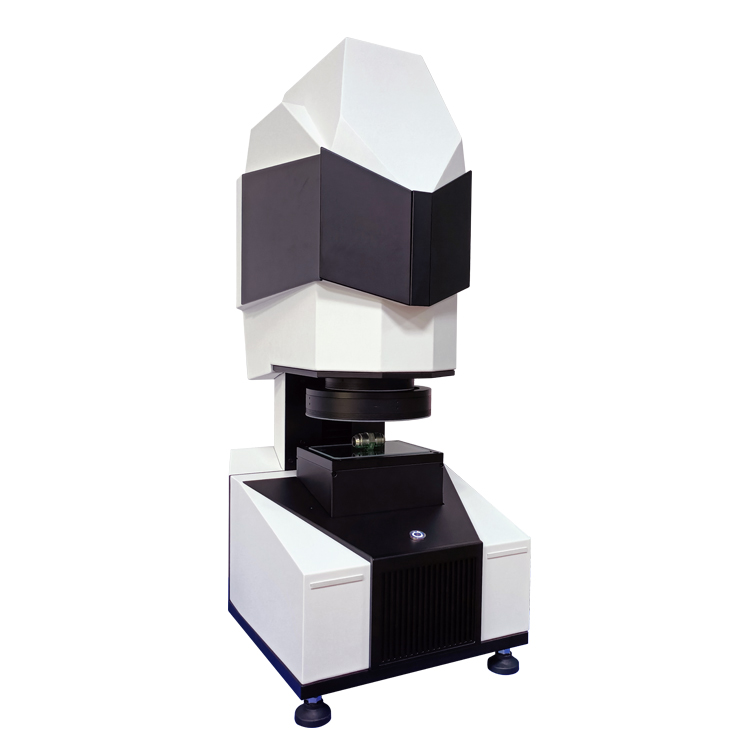
1. Flash tester
The flash-measuring instrument focuses on the overall imaging (photographic) of dual telecentric lenses, combines high-resolution industrial cameras and high-precision image analysis and processing algorithms, and realizes measurement through software calculation.

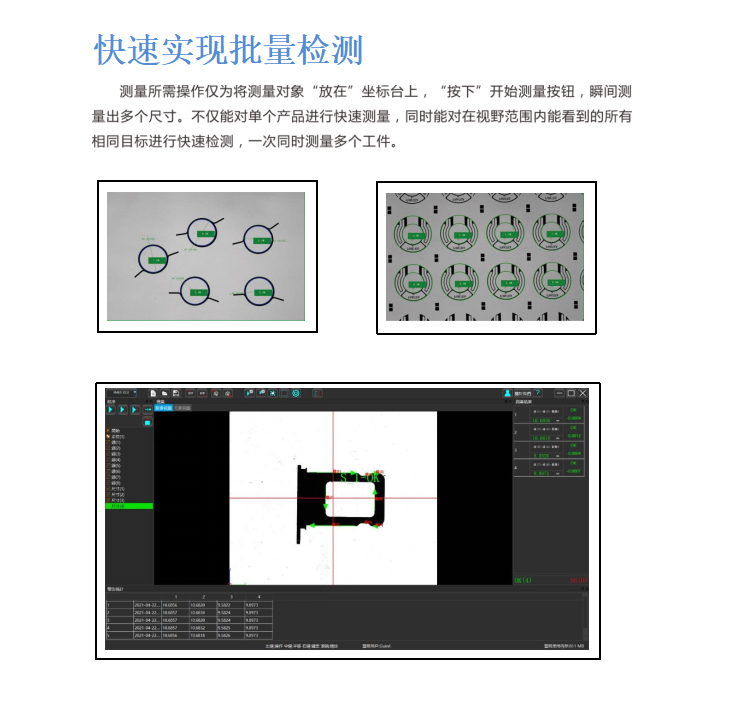
The shape design of the flash tester makes full use of the space structure, thanks to the innovation and progress of "optical detection technology + machine vision technology" and the humanized design concept, it is small and exquisite, and occupies a small area. The camera-type measurement principle effectively avoids the Abbe error, and the measurement accuracy is less affected by the site environment and the use time. It can be said that it is a new measuring instrument derived from the second element measuring instrument, and its core advantage is to measure large quantities of small precision parts.

2. Imaging instrument
The imager focuses on the fast movement of the working platform, combines CCD digital image and grating displacement value, and realizes the measurement through software calculation.
The imager is suitable for all precision measurement applications, such as machinery, electronics, instruments, hardware, plastics and other industries. In particular, the automatic image measuring instrument can complete automatic grasp when measuring some weak edge features (such as transition curve, rounded corner processing, etc.), and can automatically grasp the boundary and surface of the product under the premise of ensuring accuracy, and the measurement efficiency is higher.
The light source is calibrated uniformly, and the software automatically compensates the brightness of the light source when the power is switched, so that the normal observation is still made after the switch
Han Ding offers a one-stop service from needs analysis, product solutions, usage guidance, to after-sales tracking

Address:No. 98, Zhen'an East Road, Chang'an Town, Dongguan City, Guangdong Province, China
Mobile:+86-130 3887 8595 / Aico Ding
Email:handing3d@163.com